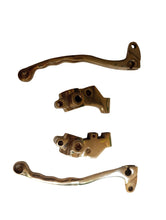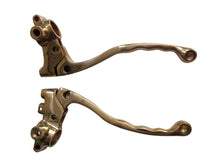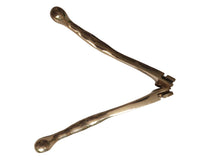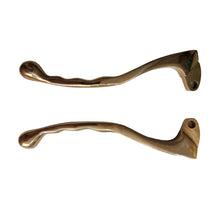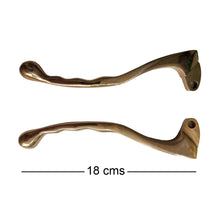
Royal Enfield Bullet Motorcycle lever set with yoke in Brass for Bullet Standard , Bullet Electra and any other model of Royal Enfield Non Disc Motorcycle
Item Code-1003
Replacing the clutch and brake levers on a Royal Enfield non-disc model involves several steps. Here’s a general guide to help you through the process:
Tools and Materials Needed:
- New clutch and brake levers
- Screwdrivers (typically Phillips and flathead)
- Socket wrench or spanner set
- Allen wrenches (if applicable)
- Lubricant (optional, for the pivot points)
- Safety gloves
Steps to Replace the Clutch Lever:
-
Prepare Your Bike:
- Make sure the bike is on a stable surface or a motorcycle stand. Turn off the ignition and ensure the bike is in gear or securely on the stand to prevent movement.
-
Locate the Clutch Lever Assembly:
- The clutch lever is typically mounted on the left side of the handlebars. Locate the lever assembly and the bolts or screws holding it in place.
-
Remove the Old Clutch Lever:
- Unscrew the Pivot Bolt: Use the appropriate tool to remove the pivot bolt or screw that holds the lever in place. This is usually a nut and bolt or a bolt with a clip.
- Slide Off the Lever: Once the bolt is removed, gently slide the lever off the pivot.
-
Install the New Clutch Lever:
- Position the New Lever: Place the new clutch lever onto the pivot. Ensure it fits correctly and aligns with the pivot hole.
- Reinstall the Pivot Bolt: Insert and tighten the pivot bolt or screw. Ensure it is secure but be cautious not to over-tighten, as this could damage the lever or the pivot point.
- Check the Adjustment: Ensure the lever is positioned correctly and adjust if necessary.
Steps to Replace the Brake Lever:
-
Locate the Brake Lever Assembly:
- The brake lever is on the right side of the handlebars. The procedure is similar to that of the clutch lever.
-
Remove the Old Brake Lever:
- Unscrew the Pivot Bolt: Remove the bolt or screw holding the brake lever in place.
- Slide Off the Lever: Once the bolt is removed, slide the lever off the pivot.
-
Install the New Brake Lever:
- Position the New Lever: Slide the new brake lever onto the pivot.
- Reinstall the Pivot Bolt: Insert and tighten the pivot bolt or screw. Make sure it is secure but not over-tightened.
- Check for Proper Function: Ensure the lever operates smoothly and adjusts if necessary.
Final Checks:
- Test the Levers: Pull and release both levers to ensure they function correctly and engage/disengage as expected.
- Inspect for Proper Adjustment: Make sure the levers are positioned comfortably and adjust the lever position if needed for optimal reach and comfort.
Additional Tips:
- If your bike has a separate master cylinder for the brake lever, make sure there are no issues with brake fluid or air in the lines when working with the brake lever.
- Always refer to the bike's service manual for specific instructions related to your model, as there may be variations in the design and components.
By following these steps, you should be able to replace the clutch and brake levers on your Royal Enfield non-disc model. If you’re unsure or encounter any difficulties, consulting a professional mechanic or technician is always a good ide


